UA-137702049-1

HOW TO MAKE CONCRETE WITH SAND/TOPPING MIX

My yard re-landscaping project gave me literally tons of gravel that I would have to haul away or use. Since I wanted to make a very large patio (actually most of the back yard) of colored concrete, I decided to mix my own using my excess gravel.

I decided to use “sand/topping” mix with my gravel instead of hauling in tons of sand and using bags of portland cement to make my concrete. Since an internet search yielded insufficient and conflicting information on how to make concrete from sand mix, I experimented to get the proper proportions of water, sand, gravel, and cement. This article presents my successful results.

Safety

Mixing Proportions

The importance of back safety (proper lifting) cannot be overstated. Once you have damaged your back doctors can never restore it to its original condition. A “bad back” can severely limit your favorite activities for the rest of your life. The basic principle is BEND YOUR KNEES – DON’T BEND YOUR BACK. There are many good online safe lifting videos such as the one below.

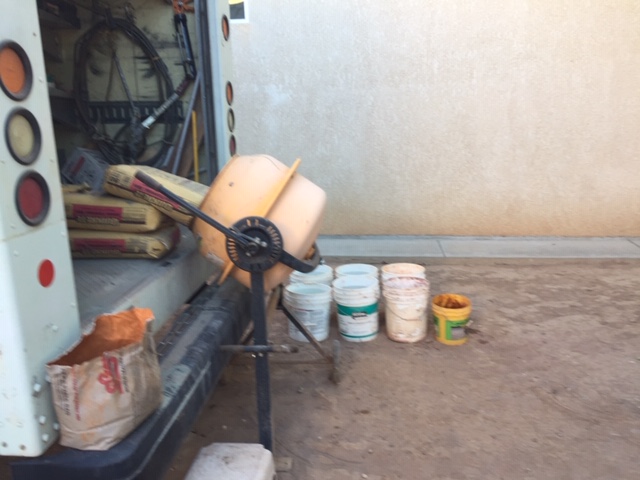
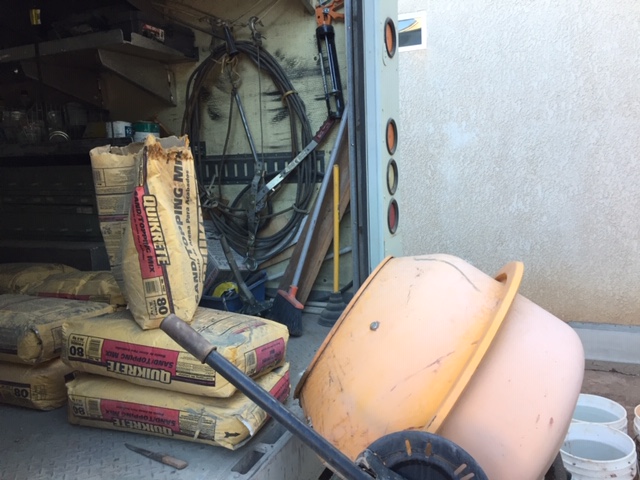
I have learned to use my head instead of abusing my back to get a job done. For example, when I need to move an 80-pound bag of sand mix, I NEVER actually lift more than 40 pounds. I do this by using gravity to assist me. I move my mixer close to the back of my truck which is a little higher than the mixer. Then I only need to lift one end of the bag, to either slide it, walk it, or “flip” it to the mixer.

With a little thought and preparation we all can protect our backs from damage.

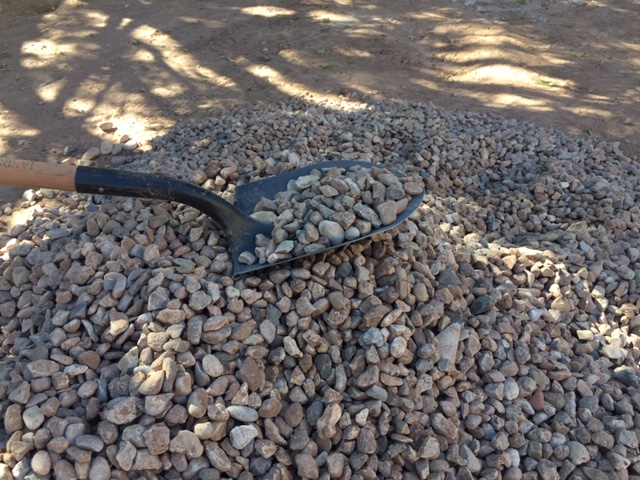
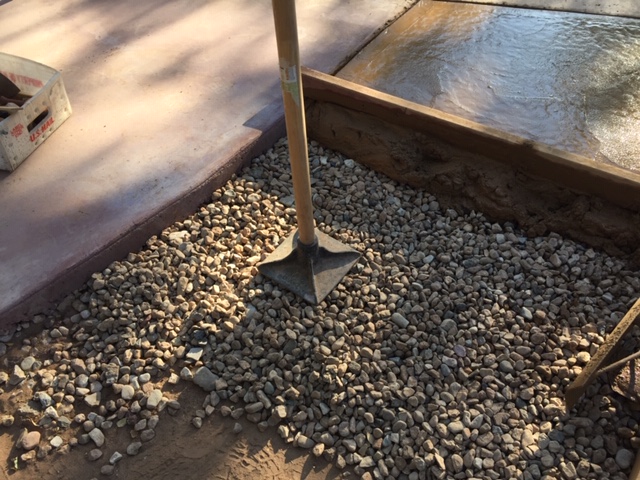
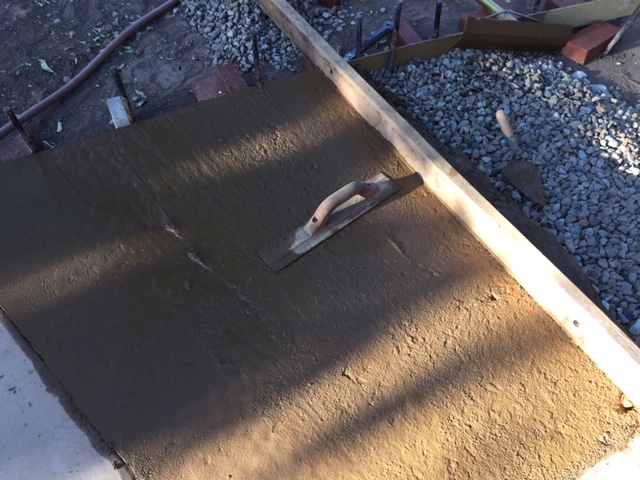
A 60-pound bag of sand/topping mix yields pretty close to 1 cubic foot of concrete. An 80-pound bag yields about 1.3 cubic feet. I try to keep my one-man pours around ten to twelve 80-pound bags. Even at that, the first concrete you put down may be hardening enough that it requires some edging and finishing before you’ve placed your last bag.

Standard concrete mixing proportions are 1:2:3 by volume – 1 part Portland cement; 2 parts sand; and 3 parts gravel.  The sand/topping mix that you buy contains Portland cement and sand, but how much of each?  Since I got widely varying opinions on my online research, and since the bag says it can be used for up to a 2-inch depth without the addition of gravel, I have assumed that the sand mix bag contains a 1:2 mixture of cement and sand.  I have poured quite a few good looking and durable pads, and this assumption appears to work well.

But, how much gravel works well?  With a little experimentation I found that one shovel full (new shovel, not heaped) for every ten pounds of sand mix works well.

How much water?  I have found that one quart of water for each ten pounds of sand mix usually gives me the proper consistency.  So, that’s eight quarts for an 80-pound bag of sand mix.  But, BE CONSERVATIVE:  all bags of sand mix are not equal.  You will find that some bags require only 7 quarts, so start with 7, and add more if the concrete mixture is too thick.

Some Recommendations

I tamp down my gravel bed to get a firmer base for my concrete.

I keep several buckets of water near my mixer. I can scoop water out of the buckets faster with my plastic 1-quart measuring cup than I can fill a bucket with the right amount with a hose.

Add the water to the mixer first, then the colorant (gray is not attractive for a patio), then the gravel. Flip the mixer barrel toward the truck. From the back of the truck I slit open the end of the bag and dump ½ of the sand mix into the barrel; this technique minimized clumping. If you dump in the whole bag, even with the full quantity of water in the barrel, sand mix will clump without getting mixed with the water.

After dumping in the ½ bag, flip the barrel away from the truck (mixing splashes!), the start the barrel spinning. All the ½ bag of sand mix will normally mix entirely with the water and gravel. While the barrel continues to spin, gradually dump in (keep your hands outside of the barrel!) the remaining sand mix from the bag.

Dump it in slowly enough that it has time to get mixed in. If you see that it is not mixing in, stop pouring the sand mix, let it spin a few more times, then resume pouring in the rest of the bag.

Watch the inside of the barrel surface. If you see clumps, stop the mixer, scrape the clumps off the surface (a rounded garden hand spade works well), then resume barrel rotation. Now you have to decide if the seven quarts of water are enough or if the concrete mix is too thick. If you add more water, add SMALL AMOUNTS SLOWLY. With sand mix, concrete mix, or mortar, just a little too much water at the end can push it beyond acceptable to too thin.

I try to make my pads at least 49-inches wide when I can, so I can use the bullfloat. Vibrate it on the pull stroke to push down the surface gravel, then finish with smooth strokes. You will probably need to bullfloat the earlier concrete before you have mixed and placed the last of your bags, then continue bullfloating both the first concrete and the later concrete.

If your pad is too small for using a bullfloat, vibrate the mag float in multiple directions behind the screed board to push down the surface gravel. Finish with smooth strokes to smooth and flatten the concrete.

Don’t wait too long to do the edging. If the first concrete gets too hard while you’re pouring the middle or end bags, it will be difficult to push the gravel down, and your rounded edge will look ragged. I edge quickly, but with little pressure so I don’t distort my flat surface, then edge several more times during later surface finishing.

While edging, keep a close eye on matching your new concrete level with the old adjacent concrete. Though you’ve already screeded it to match the existing level, the edges have a tendency to sag after a bit, leaving your new concrete pad lower than the adjacent one.

To solve this problem, run your mag float perpendicular to the joint.  The end of the mag float needs to be resting on the existing concrete, and the body of the mag float should lightly rest on the new wet concrete. Any low spots will be obvious. Add a small trowel full of concrete to the low spot, work it in, then edge it again.

For a smooth surface, finish your larger pads with the fresno float. Use the smaller steel float to finish small pads. Don’t finish with the steel tools until the bleed water has evaporated. If you are finishing your concrete on a hot day, leave a little of the bleed water there and finish the pad. If you use steel finishing floats too soon, it can lead to a spalling (flaking) surface, especially in climates that have cold winters.